
During lockdown we found ourselves crafting like crazy!
We also set ourselves goals to get organised, and armed with a craft stash, and some of our products, we got experimental.
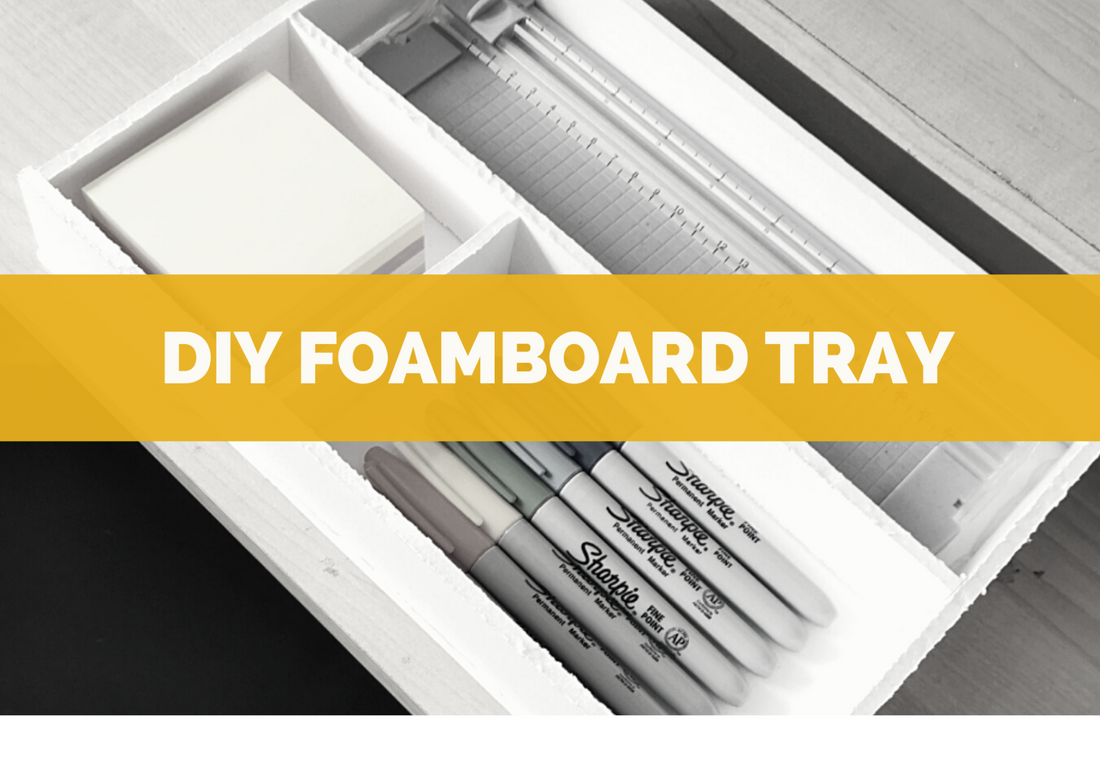
One of our biggest issues is what to do with all those little stationery bits and bobs, that don't really live anywhere, just floating around the house, so our foamboard tray was born!
These handy little trays are lightweight, can be made in an hour, and are SUPER versatile.
To create your own, you will need -

Pencil
Ruler
Sharp craft knife
Hot glue gun and glue sticks

Take 1 sheet of foamboard and carefully measure into equal quarters lengthways. Mark your quarters with pencil lines, so you know where to cut.
Very carefully slice through the foamboard, on the pencil lines to create 4 equal sized strips. These will make up the sides of your tray.
2

Using your glue gun, squeeze a line of glue along the long edge of one of the strips, and press into place on the long edge of another sheet of foamboard. Do the same with another strip on the other long edge.
Carefully measure the short edge of your base, and trim the remaining 2 strips to fit. You will need to take 1cm off the overall length, to take the sides you just created into account.
3

Once again, squeeze a line of glue along the bottom edge, and the side edges, and press into place to finish the outer walls of your tray.
4

Now comes our favourite part! You'll need to decide what formation you'd like your compartments. We went for 1 full length, and 2 smaller compartments, so we'll be walking you through that. Cut your 3rd piece of foamboard into 4 equal strips, as you did with the first one, and trim 5mm from each end.
Decide where you'd like this divider to sit, run a line of glue along the long edge, and the 2 short edges, and press into place in your tray, you will now have 2 full length compartments.
Measure the distance between the side, and the divider, and cut another strip down to fit. Once again, squeeze some glue along the long edge, and both sides, and press into place!

And that's it! Your tray can be used to stash away a whole host of bits and bobs!

We left ours plain, but you could easily decorate with washi tape, decorative paper, or paint. You could make it with more compartments, or in a variety of sizes!